


Getting to Subnautica 2‘s Alien Ruins is your first big traversal challenge in the game. You leave the safety of your home waters behind and strike out into the depths, where mysteries await — and a lot of very big, angry fish that want to eat you. There’s a trick for avoiding them safely and some things you’ll need to do before you set out for the ruins, though.
Below, we explain how to reach the Alien Ruins in Subnautica 2 and what to expect when you get there.
How to reach the Alien Ruins in Subnautica 2
The Alien Ruins are several hundred meters east of the Tadpole Pens, and you’ll be crossing a much deeper section of ocean than you’re used to during the journey. It’s much easier to reach the ruins — and much safer — if you have a tadpole of your own, so we recommend building a tadpole before you set out. You’ll eventually want to build a new base near the ruins on the other side of the depths, so if you want to get a head start on that and bring some materials with you, craft a portable locker, fill it with titanium, and stick it on the back of your tadpole before setting out. We recommend grabbing some necrolei cysts and taking them with you, since they’re so rare. That way, you can make strong acid without having to cross the depths again.
A collector leviathan calls these waters home. It’s a giant, tadpole-crushing, human-eating squid, and there’s absolutely no way you can chase it off. Flares don’t distract it, and it brushes off sonic resonator blasts to the face. However, it’s been our experience during several crossings that if you stay near the surface and don’t descend below five meters in depth, it won’t attack you. It might whack the tadpole and do a bit of damage, but it won’t grab it, drag it under, and try to smash it like it does if you’re deeper down.
Later, you’ll find a mod that reduces how much noise your tadpole makes, which keeps the leviathan from tracking you every time you make the crossing.


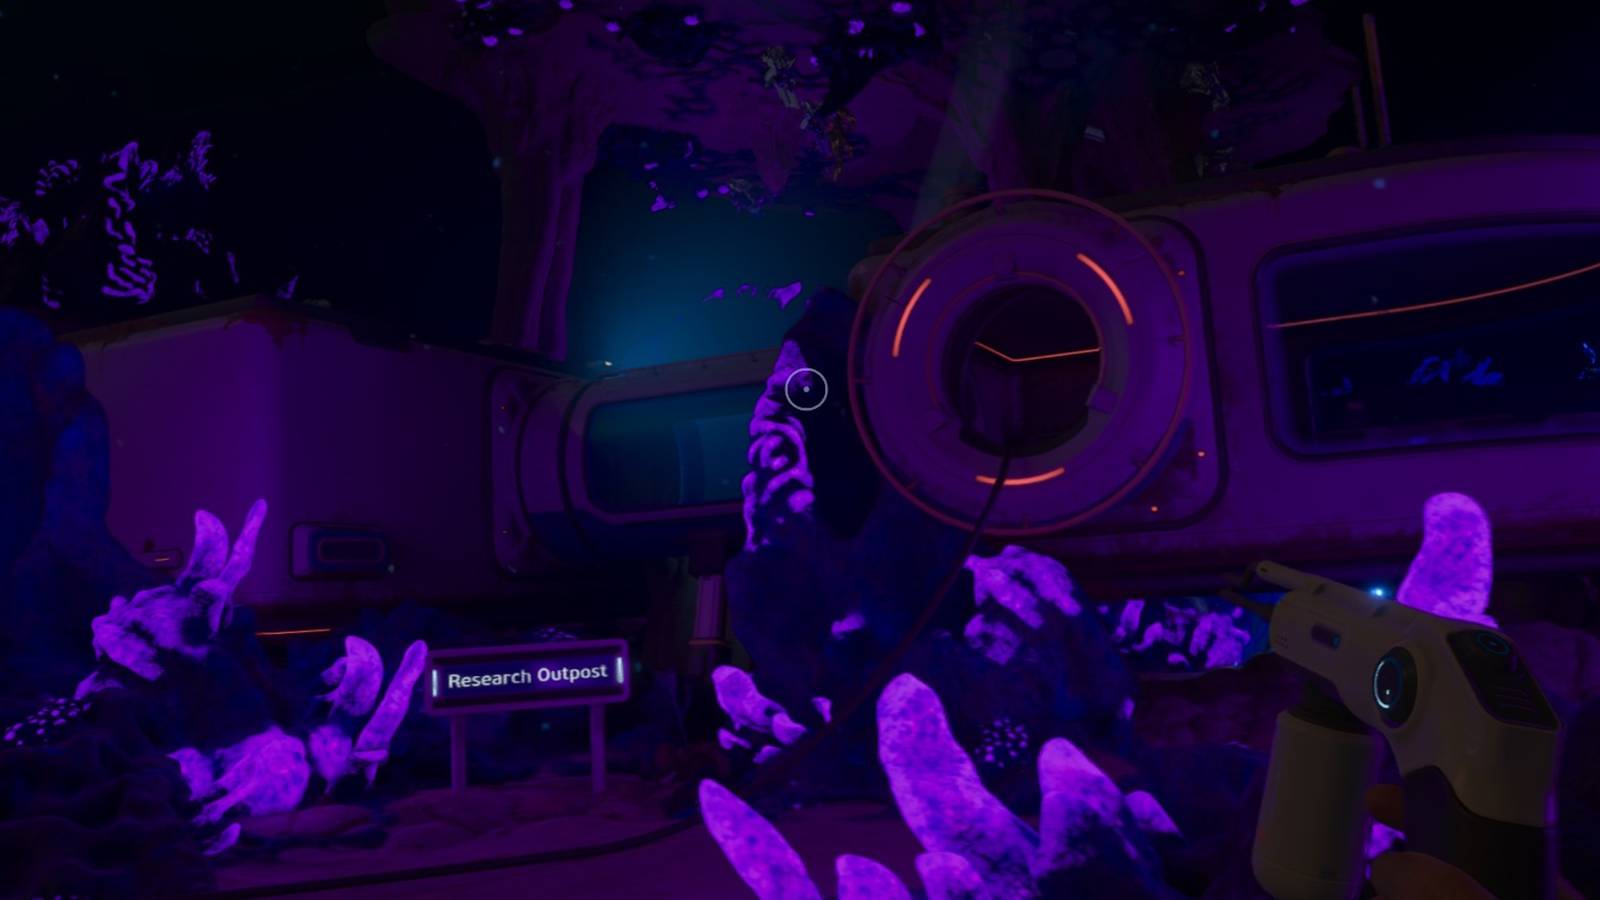
Anyhow, once you reach the ruins, ignore the actual ruins. The signal leads you to a research base nearby. (You’ll get inside the ruins eventually, but not before completing several other essential tasks first.) Grab and scan everything on the table in front of the station, and then pop out of your tadpole and head inside. Take a left in the first hallway, and then make sure to scan the mod station in the small room beyond that if you don’t have one already. It’ll be essential for crafting a depth module, which you’ll need to explore soon.

To your left is a bunk room with more scannable items and logs, and to the right is a safe room with no water (so you can breathe freely), some storage lockers, a fabricator, and a working Biobed. Activate the Biobed as your respawn point until you build a new base, so you don’t have to start from back near the Lifepod, and make use of the storage lockers, too.
After that, head to the back of the station and interact with the NoA unit to get your next objective.
If you’re starting out in Subnautica 2, we have a plethora of guides to help you navigate the deep blue sea. Our Subnautica 2 beginner’s guide will set you off in the right direction and our base building tips will assist in planning out your sprawling base. Don’t forget to stock up on food and water, too. (And if you want to get fancy with your food, you’ll want salt!)


