



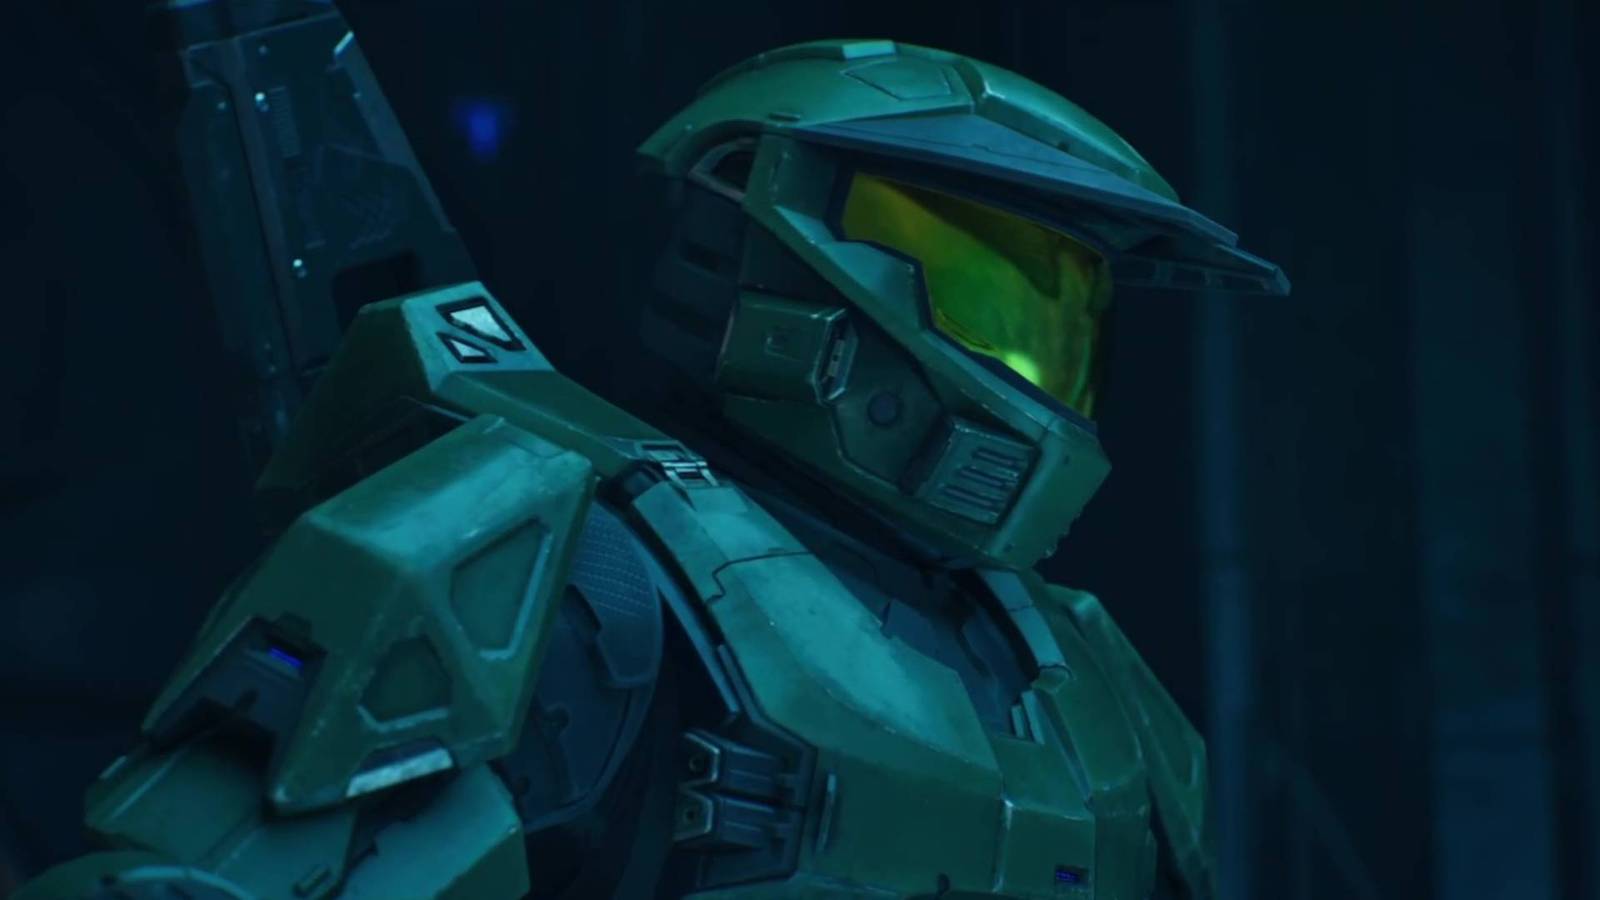
The “Assault on the Control Room” mission in Halo: Campaign Evolved has three skulls and one terminal to find, much like all the other missions in this remake of the first Halo game. It’s also the first time you get to drive a scorpion tank in the series. Not much beats plowing through hordes of Covenant enemies in a huge armored vehicle, and you’ll need the tank to grab the first skull.
Here are all the skull and terminal locations in the Halo: Campaign Evolved level “Assault on the Control Room.”
Skull 1: IWHBYD
- Description: It would have been your dialogue.
- Objective: Proceed through the substructure.
Shortly after you acquire the scorpion, you’ll travel through a structure and emerge in an area with a large bridge connecting two sides of a gulch. Clear the enemies here then cross the bridge and take a left while still driving the scorpion. At the far end of this path will be an icy wall.
Drive the scorpion to the very end and park it against a long, vertical hole in the wall. The skull is resting inside there. Exit the scorpion, then use its cannon as a platform to reach the hole and pick up the skull.
Terminal: Tangent I
- Objective: Head for the Control Center Ziggurat.
A little further on, still in the scorpion, you’ll take down a couple of ghosts and a wraith before climbing a hill. As you approach the top of the hill, a Covenant dropship will deploy some more enemies. Kill these, along with any banshees and grunts in turrets nearby, then look at the huge rock formation in the middle of the path.
On either side of this is a door you can enter on foot. Go inside, kill the enemies here (including a cloaked elite with an energy sword), then go up the ramp to find a balcony with the Tangent I terminal on.
Skull 2: Angry
-
 Image: Halo Studios/Xbox Game Studios via Polygon
 -
 Image: Halo Studios/Xbox Game Studios via Polygon
- Description: Enemies fire their weapons faster and more frequently.
- Objective: Head for the Control Center Ziggurat.
Eventually, right after you find some more marines and dispatch two hunters, you’ll be forced to leave your scorpion behind to progress through a cave. At the other end is a huge area with a few ghosts zooming around. The middle of this large valley will have three bridges horizontally crossing a lower section of ground.
All you need to do for the Angry skull is climb up the third and final bridge to find the skull resting at the top.
Skull 3: Cowbell
-
 Image: Halo Studios/Xbox Game Studios via Polygon
 -
 Image: Halo Studios/Xbox Game Studios via Polygon
 -
 Image: Halo Studios/Xbox Game Studios via Polygon
- Description: Physics mass of objects is reduced, making them more easily displaced.
- Objective: Head for Halo’s control room.
When you exit through a door and find two banshees in front of you, one of them will take off. Defeat the enemies on the bridge — there’s an achievement for killing the elite before it can steal the other banshee — then to make this next part easier, take down the enemy banshee too. However, it isn’t completely necessary if you’re careful.
Look to your left at the middle of the bridge and you’ll see a support beam for the huge structure running underneath. Jump onto this beam then turn around. Nestled underneath the bridge you were on is the Cowbell skull atop a rock.